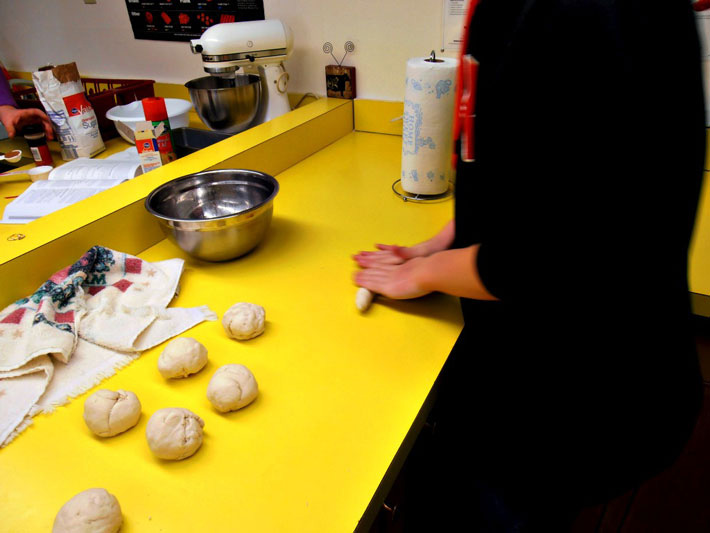
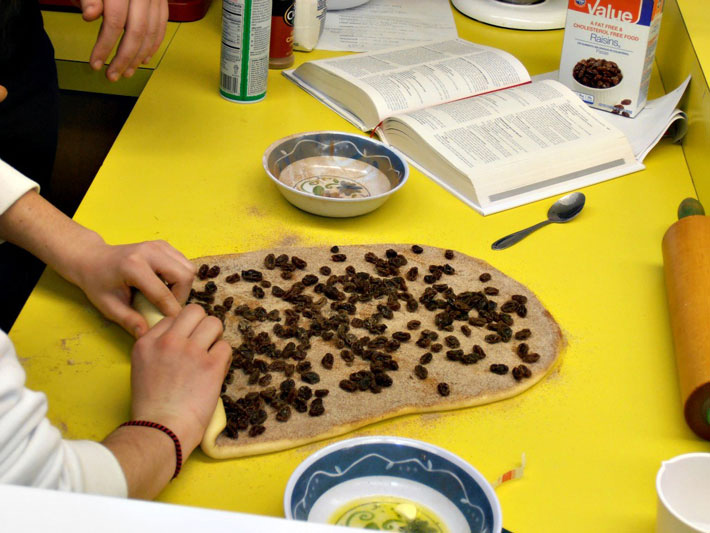
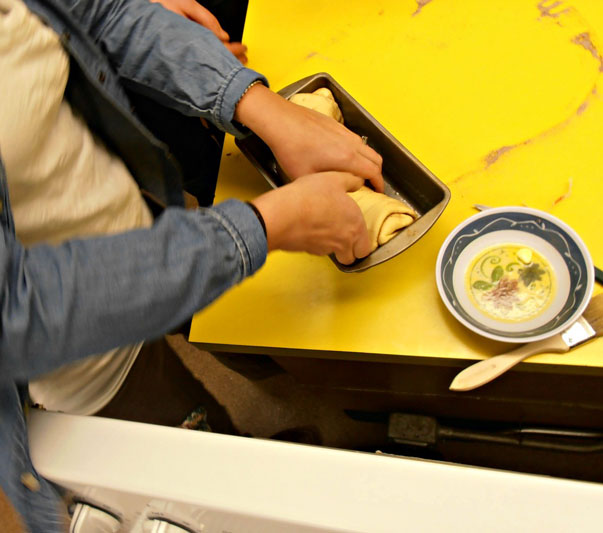
Here we made the dough for the pretzels that we planned to make. We had to knead the dough by hand for about ten minutes until all the ingredients were incorporated evenly. Since we used farm fresh eggs and materials from the local store, we made the dough completely out of scratch.
After the dough was kneaded completely we started rolling the dough out so that it was thin enough that we could shape it easily.
Since the dough was rolled out thinly we started to make the pretzel shape. We made about ten pretzels.
Here were the pretzels before we put them in the water. These are what the shape of the pretzels look like.
The next step after we made the shape was to boil the pretzels so that the shape would hold and that the dough would be completely cooked.
We boiled the pretzels for about five minutes apiece and then took them out and put them on a baking sheet.
After the pretzels were boiled completely, we put them on a baking sheet and added seasoning on top of them. We added salt, pepper, and even a little bit of cinnamon. We then put them in the oven for about 15 minutes until the outsides got hard and crunchy but the insides were still soft.
We decided to makme cinnamon raisin bread. The first step was to make the dough out of scratch. We put all the ingredients together and then proceeded to knead the dough until it was completely incorporated.
Before we put the raisins on the bread we had to boil them so that they were moist and cooked.
After the raisins were done boiling we dumped all the water out of the pot.
After the water was completely drained out of the pan, we dumped the raisins into the strainer and ran cold water over them.
Here was the amount of raisins that we used for the bread after they were fully cooked.
After the dough was made we had to roll it out into an oval shape so that we could sprinkle it with cinnamon and raisins.
These are the ingredients that we are going to use next. Sugar and cinnamon
I sprinkled the sugar, cinnamon, and raisins over the bread. We then proceeded to roll the bread very tight so that none of the ingredients would fall out. After it was rolled completely we pinched the ends closed.
We then put the dough into the pan so that we could cook it in the oven.
This is the final result of the cinnamon raisin bread. We put cinnamon on top of the bread and it was finally finished!
This is what the bread looked like while it was cooking in the oven.
I decided to make home made French toast for breakfast. The ingredients needed are wheat bread to support our local wheat farmers, sugar, milk, cinnamon, vanilla, and eggs.
I next measured and mixed all the ingredients together in a bowl but not the wheat bread.
I then cut the bread into three pieces so they were little sticks of French toast. Before I put them in the pan I coated them with the ingredients that I mixed together in the bowl.
I then fried the pieces of bread until they had a brown color on both sides. I put them on a plate and then topped it with maple syrup.
And in the end French toast makes for one happy toddler!
In this picture I will be showing how the typical American taco is made. The ingredients that I will be using are: vegetable oil, different types of seasoning, meat from one of my friends beef that was butchered at our locker, and tortillas. Later to finish the meal I will top it will cheese, salsa, and lettuce.
This is the ground beef that I will be using for the taco meat. This meat came from a cow that was raised on a farm in Deer Trail. The cow was butchered at the Deer Trail Locker. There were multiple different cuts that came from this cow and this is the cut that I used for tacos.
The next step is to cook the ground beef. I defrosted the meat in the microwave for a few minutes until it was thaw mostly. I then put the meat in a pan. The heat was on medium so that it wouldn't cook too fast and burn.
The meat is completely cooked. To make tacos have that good flavor and perfect seasoning, I had to add some seasoning. The seasoning gives it more flavor and makes the meat taste better. I add seasoning salt, taco seasoning and water so that it mixes throughout the meat completely. I then let the meat simmer. After that the meat is completely done and ready to eat.
The next step to tacos is to have something to put the meat in. Some people use taco shells, but I think they taste better with a tortilla that is fried in oil. I bought these tortillas at our local general store located in Byers, Colorado.
To fry the tortillas I had to put about 1/3 cup of oil in the bottom of a frying pan. I turned the heat on high so that the oil would get to the point where it was about to boil. Once the oil starts to have bubbles forming on the bottom of the pan it is ready to put one tortilla in it.
Once the oil is hot enough I put one tortilla into the oil. I place it in carefully as to not burn myself. I place it in a only leave it on one side for about thirty seconds to a minute, flip it and do the same thing for the other side. I then place it on a plate and continue to do it for how ever many more tortillas I want.
This is the last picture of this series and it is showing what I personally use to top my tacos with. I put cheese on top of the hot meat so that it melts it. I then put on salsa and then a little bit of lettuce that I cut up. It tops it off and creates a very tasteful taco. Everything is finished and that is how a typical taco is made!
To first make the dough we had to add multiple ingredients together and roll them until thin. We then made them into a circle shape and began to fry them on a stove top. To determine when they are cooked we had to look for air bubbles that form within the dough. Then it is cooked completely and is a homemade tortilla.
On this day we were making fajitas. We first started out by cutting all the vegetables and the meat into thin slices. Then we fried the meat and after it was about done cooking we added the vegetables. After everything was done we used our homemade tortillas and ate.